

How To - Install and Setup a Raspberry Pi 400 as a Docker Server


Raspberry Pi Imager
You first need to download and install the Raspberry Pi Imager. At the time of writing, the latest version is v1.8.5
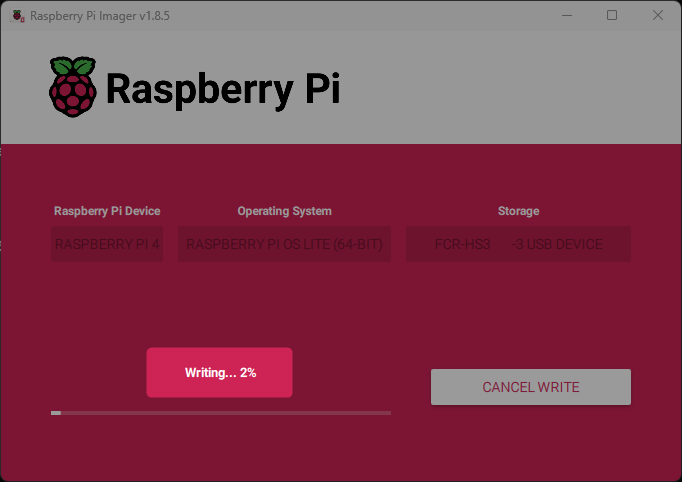
We will set up a brand new image on the Pi 400, so we will select PI 4 and OS Lite 64-bit. Once that is done, we will select the storage drive, which should appear as a USB device. This will ensure that no old settings or configurations might affect the setup.
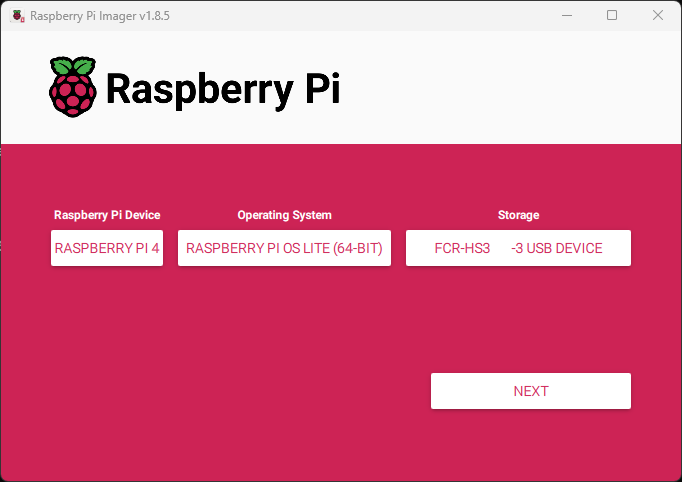
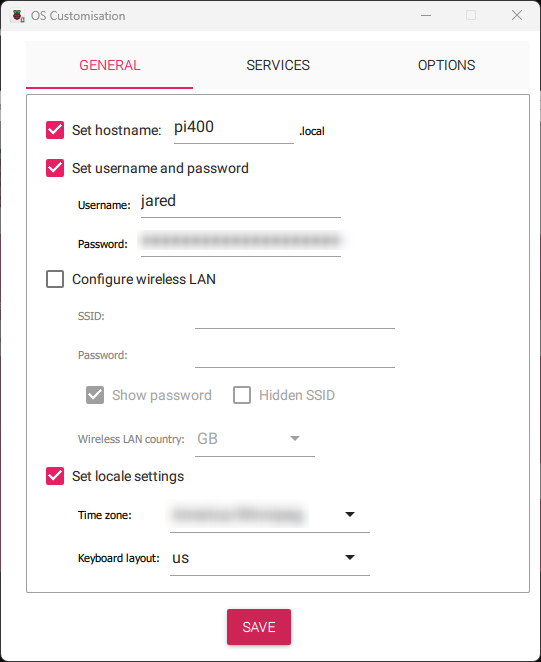
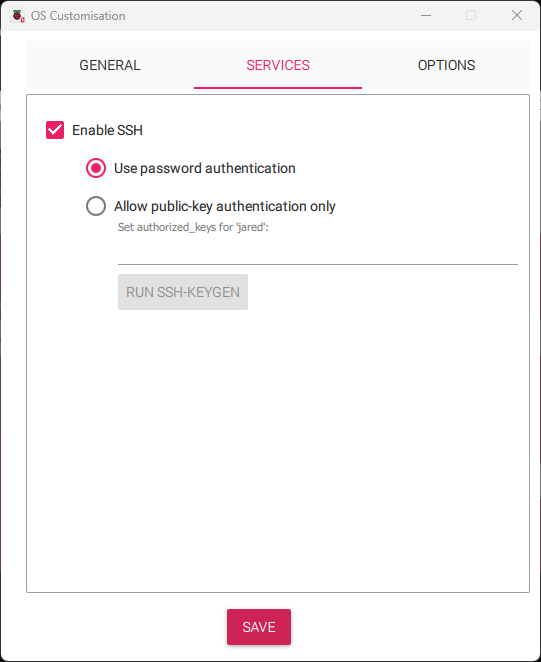
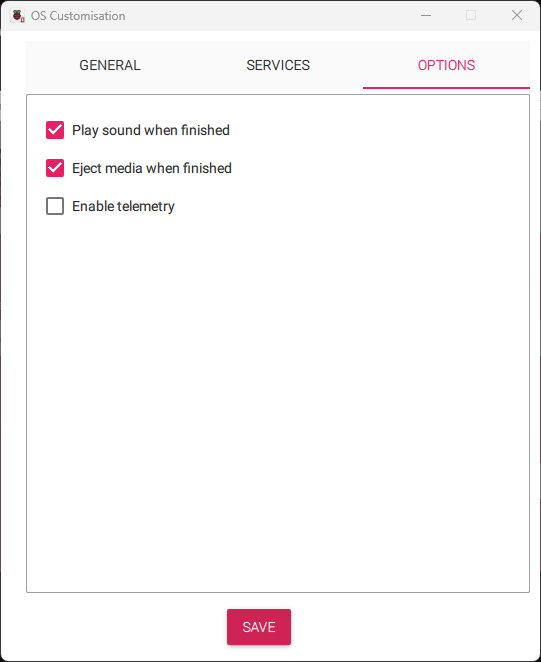
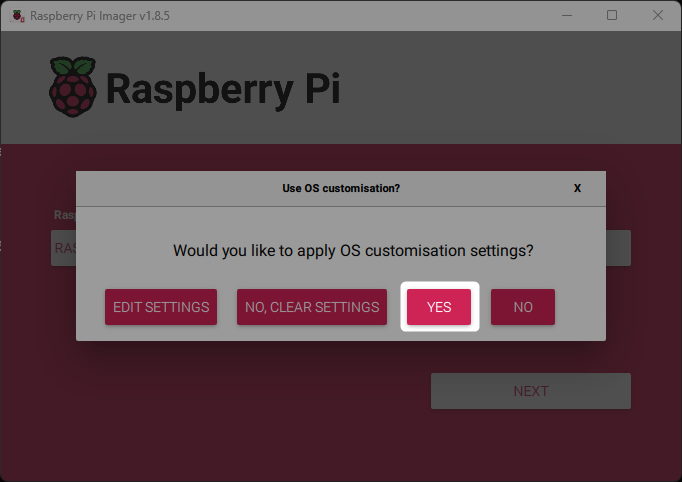
Click next and make sure the device is set up correctly. I will include many screenshots I saw while imaging the drive.

Plug in the Drive and Update the Pi OS
The PI Os is notoriously out of date. It is important that we run these two commands to make sure everything is updated and ready to install docker. DO NOT miss this step!
sudo apt update
sudo apt upgrade
The time it takes for these commands to run will vary depending on the speed of the drive. On my Pi 400, it took 5-7 minutes to complete.
Reboot
It is a good idea to reboot the pi. You can do this by typing:
sudo rebootConnect to the PI 400 via SSH
While you are still on the Pi run this command to find the IP address:
ifconfig
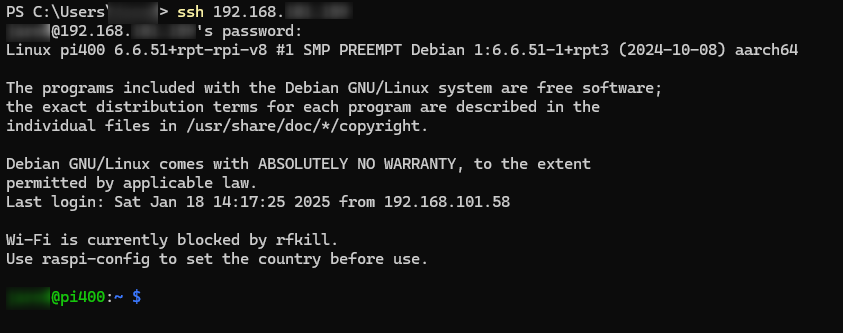
Once you know the IP address, you should be able to connect to the server from the command line. Type this command:
ssh 192.168.1.2NOTE - You will need to replace 192.168.1.2 with whatever the IP address is that you wrote down from the previous ifconfig command.
Commands to get Docker up and running
curl -sSL https://get.docker.com | sh
sudo usermod -a -G docker $USER
Logout
logoutRun Docker Hello-World
docker run hello-world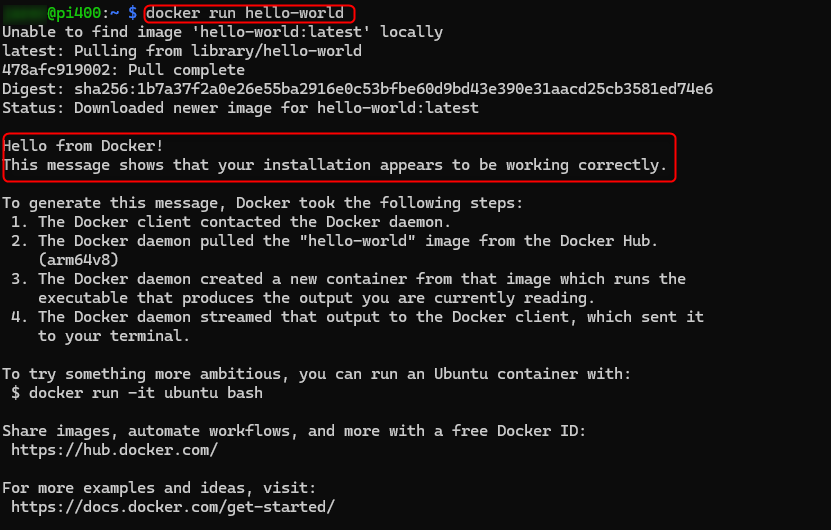
And Voila, the little Pi 400 is a fully functional docker server.