How To - Setup And Install NetAlertX

Over the last few weeks, I have been testing a Docker container called NetAlertX. It has the look and feel of PiHole. When I found out it used to be called “Pi.Alert” it didn’t shock me.
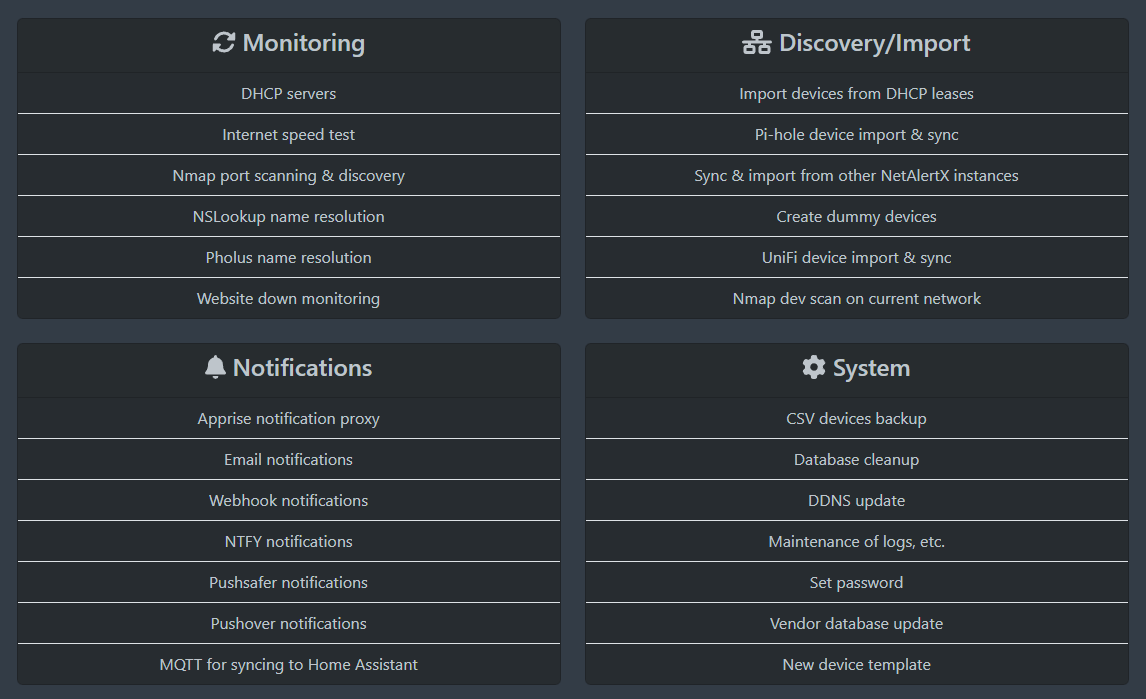
NetAlertX does a lot of things. Some of the more prominent items are:
Warning
This post assumes you have Docker installed. If not, please do so before you proceed.
NetAlertX will be part of my upcoming open-source homeservarr self-hosting setup. If you wanted to try it, you can run it by using two files. These two files need to be in the same folder. The command to use them can be found under “Docker command”.
docker-compose.yaml
#---------------------------------------------------------------------#
services:
  netalertx:
    container_name: netalertx
    image: "ghcr.io/jokob-sk/netalertx:latest"
    network_mode: "host"
    security_opt:
      - no-new-privileges:true
    environment:
      - PUID=1000
      - PGID=1000
      - TZ=${TZDISPLAY}
      - PORT=${P_NETALERTX_01}
    volumes:
      - ${VOL_BASE}/netalertx/config:/app/config
      - ${VOL_BASE}/netalertx/db:/app/db
      - ${VOL_BASE}/netalertx/logs:/app/log
      - ${VOL_BASE}/netalertx/api:/app/api
    restart: unless-stopped
.env
#-- TimeZone  ------------------------------
TZDISPLAY=America/Winnipeg

#-- Volumes and folders ------------------------------
VOL_BASE=/home/homeservarr/docker

#-- Web GUI ------------------------------
P_NETALERTX_01=1254
Docker Command
In the same folder as these two files, run this command:
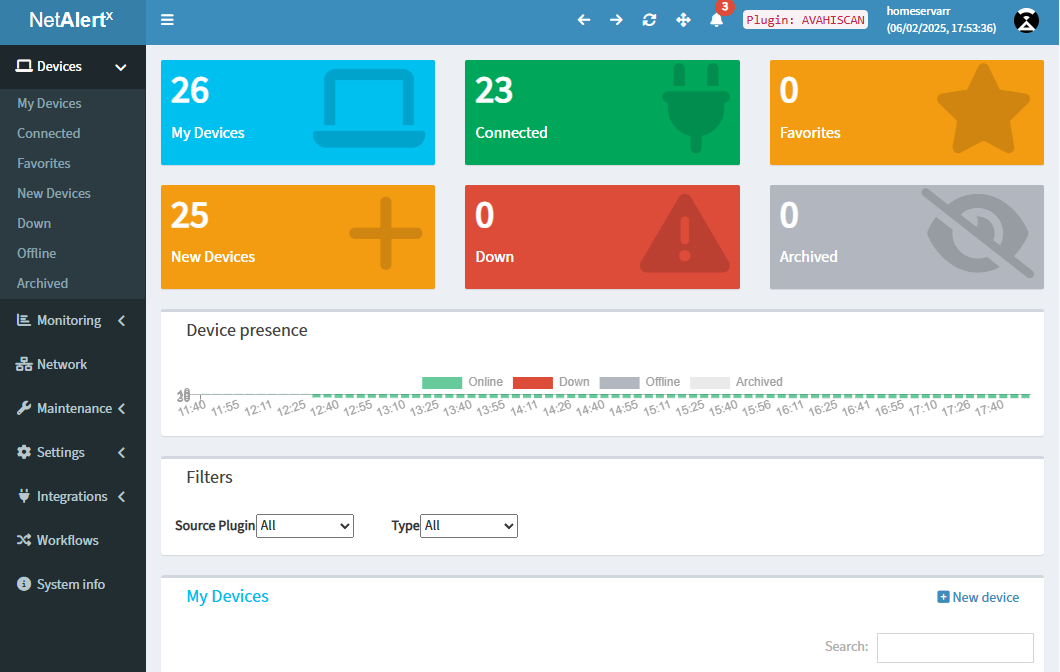
docker compose up -dIf you did everything correctly, you should see something like this:
This post will recommend that you sign up for a free brevo.com account. Using that account, I will walk you through setting up alerts in NetAlertX. The free brevo.com account gives you:
300 emails/day
Customizable email templates
Drag & drop editor
Transactional (API, SMTP, Webhooks)
SMS & WhatsApp campaigns
For most home users, Brevo’s numbers are overkill for their alert needs.
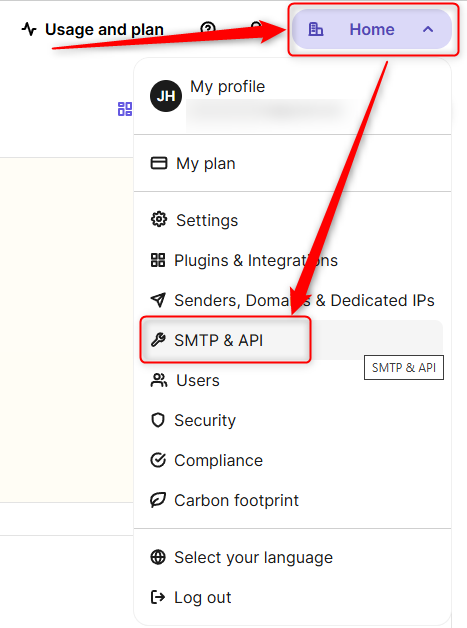
Get your Brevo Username and Password info
If you don’t have one, please sign up for a free one and login. Once logged in, go to the Home button and go to the “SMTP & API” section.
Make a note of this information in your account. You will need this later in the setup.

How to Set Up NetAlertX
The first thing you need to know is which Ethernet adapter to use. You should use the machine's default network adapter when running Docker. In my case, it is “eno1”. You can also see that I have 3 pages of network adapters on this one machine, and this adapter is on the last page.
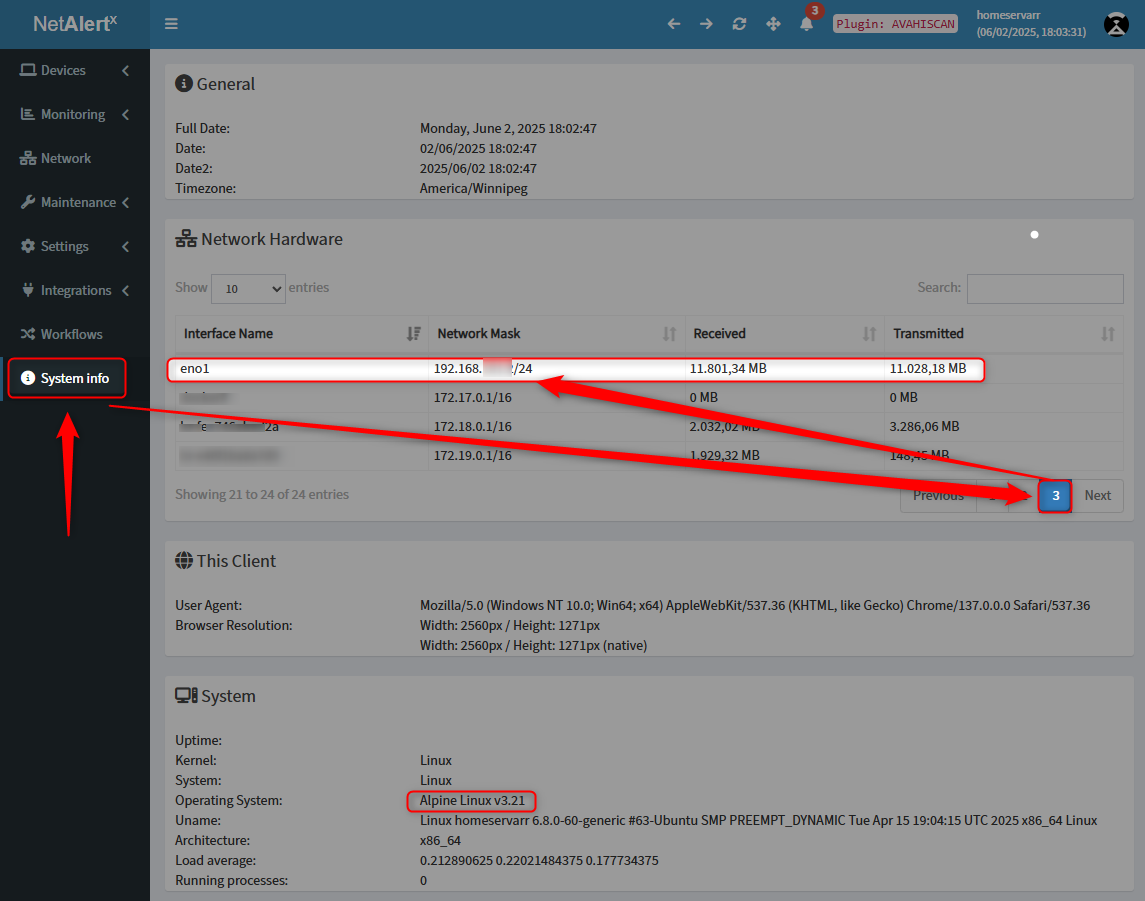
Please write down the name of the adapter. In my case, I wrote down Interface Name “eno1” and the Network Mask “192.168.1.0/24”
Next, go to:
Settings - Core - “Networks to Scan”
Once there, change the value to the correct network and interface name. This is how mine looks.
192.168.1.0/24 --interface=eno1
Once that is done, the machine should start scanning the network in the next 5-10 minutes.
Setup Alerting
Now that the configuration has been completed, let’s set up alerting. To do this, go to:
Settings - Publishers - “Email Publisher (SMTP)”

When done, click the big green “Save” button at the bottom of the screen

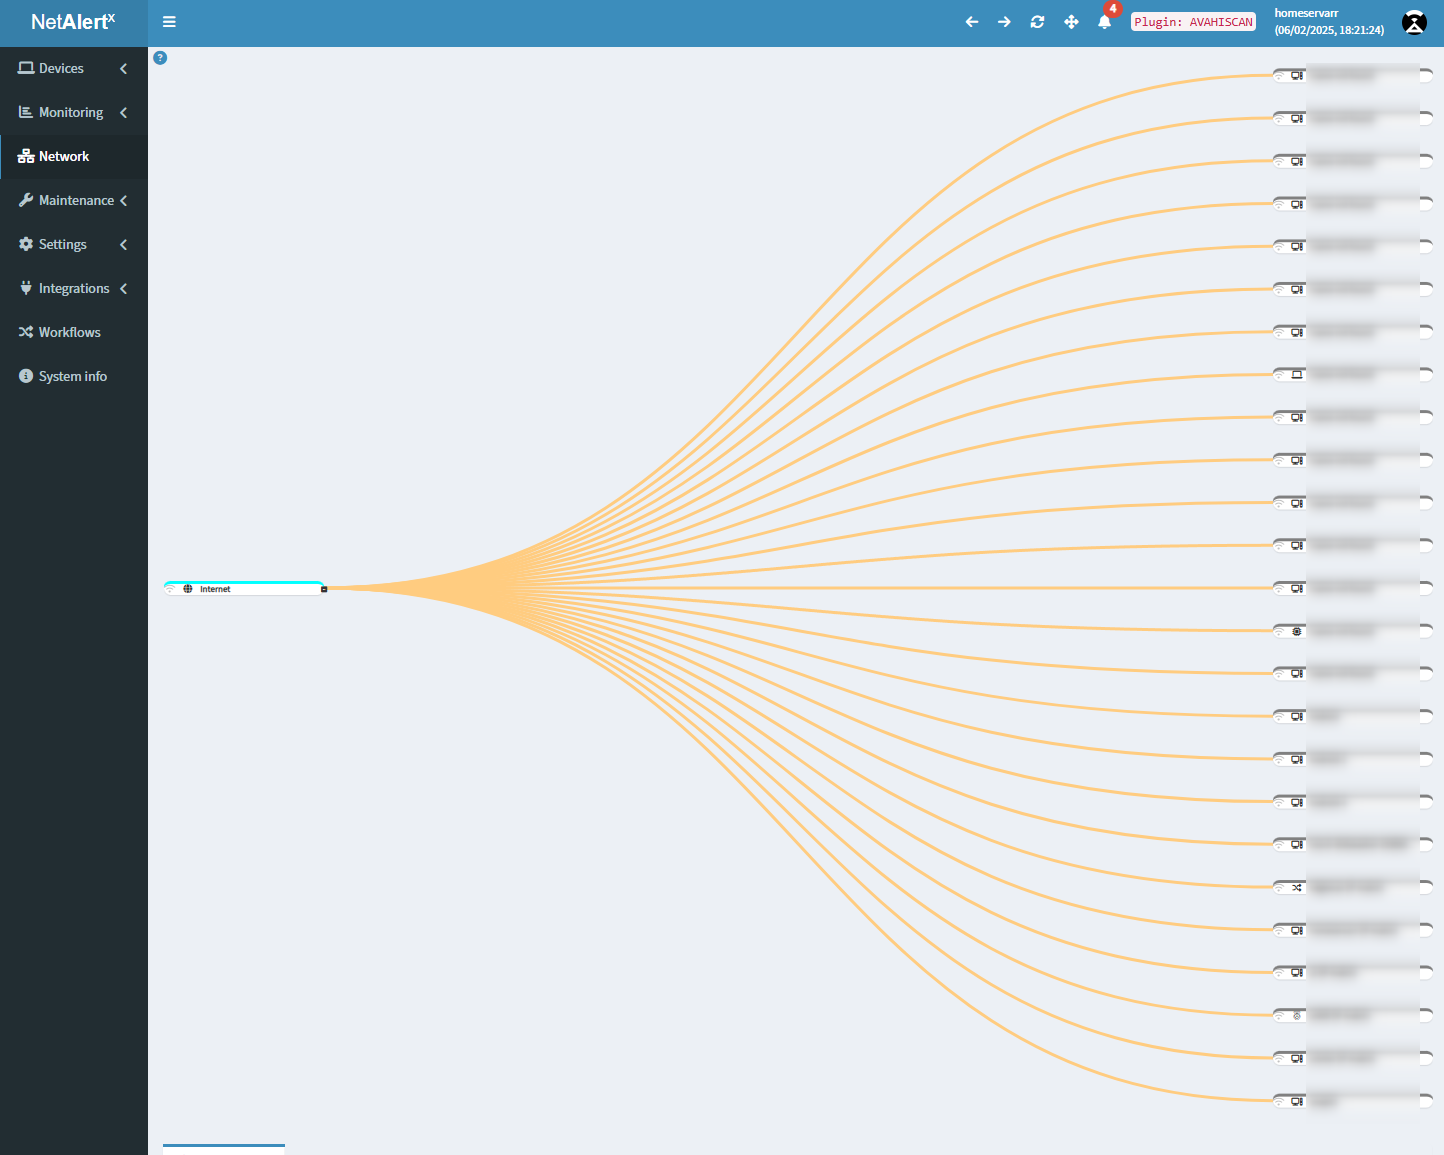
Give it a few minutes, and you will see under Network a lot more devices are showing:"