

How To - Setup Github Copilot

I have used the free version of GitHub Copilot for a little while, so I was excited when, organizationally, it was decided I should be one of the first to get a corporate license. The free version was decent, but there were a bunch of features, like using it in the terminal, that weren’t available to me previously.
The idea for this post developed when another person asked a few of us how to get it working.
We should have the licence now, the ticket was closed. How do we access it? lolHaving already spent time working with the product, I was able to assist the other members who will be involved in its testing.
What is GitHub Copilot?
Not to be confused with Office 365 CoPilot, Github Copilot focuses on enhancing your coding experience. Office 365, on the other hand, helps automate mundane tasks like summarizing meetings and other Office 365-type automation. Also, unlike Office 365 Copilot, Github Copilot really revolves around programming tools like VS Code, Visual Studio, and the terminal.
Step 1 - Login and Verify your account is setup and works
If you are starting from scratch with Github, it is best to:
Log into GitHub using your browser and make sure everything is working.
Once you log in, you should create one or two repositories to ensure that logging in works. This will help ensure that:
Your user is set up correctly.
You have verified that there are no configuration issues and that you have the correct username/password / 2FA setup.
Step 2 - Setup Your IDE / Code Editor
Pick a compatible Editor or IDE. I will be using Visual Studio Code for this post, but the steps should be similar for other products.
In VS Code, you will most likely need to install the plugins for GitHub Copilot. The plugins at the time of writing look like this:
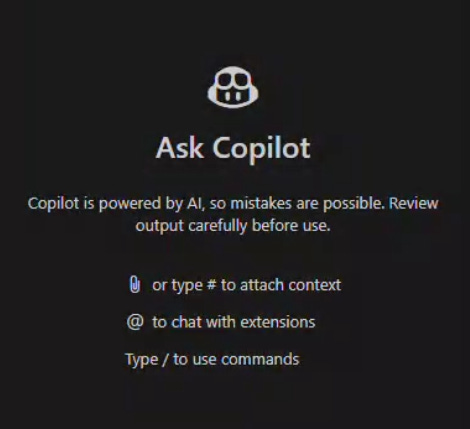
Once done, a new panel will open in VS Code. It will look similar to this:
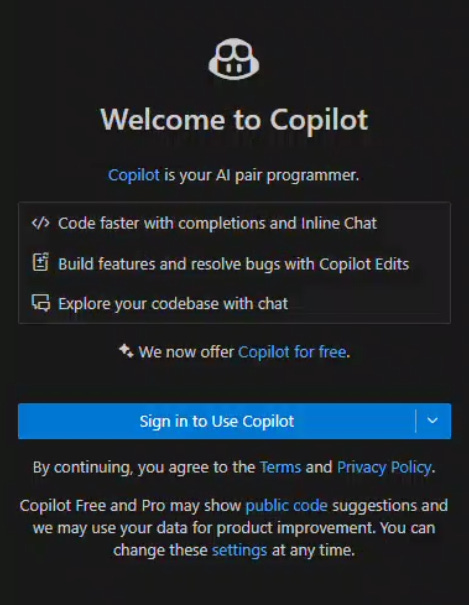
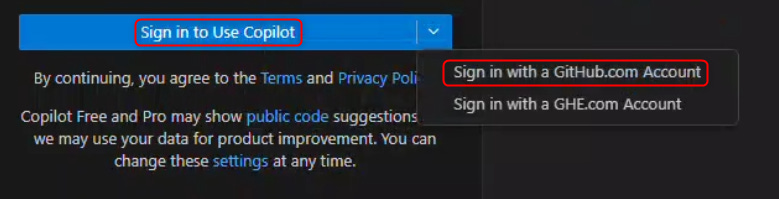
If you have a license, you will most likely need to click on the “down arrow” and select how you want to log into the Copilot Account.
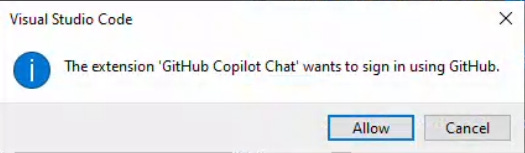
You will then be told your extension wants to login
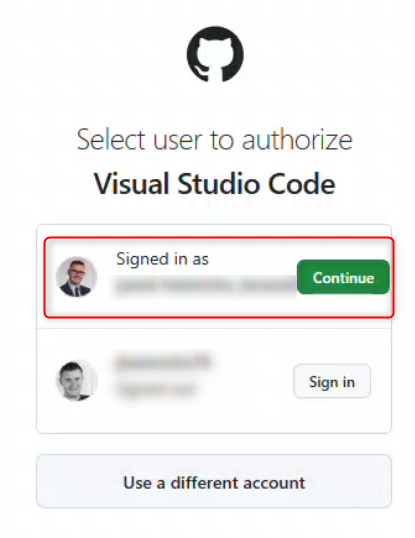
Your default browser will open, and you will need to select the account to login with. By already logging in, this process should be much smoother:
You will then be asked to authorize one more item. This time, it will be VS Code.
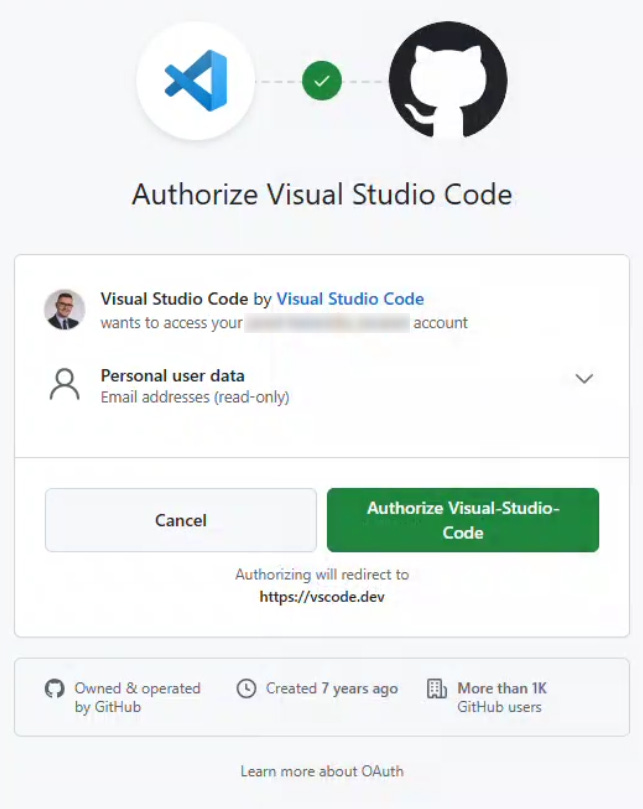
After authorizing VS Code you will be prompted for one item. You will need to say “Always allow VS Code to open this type of link:
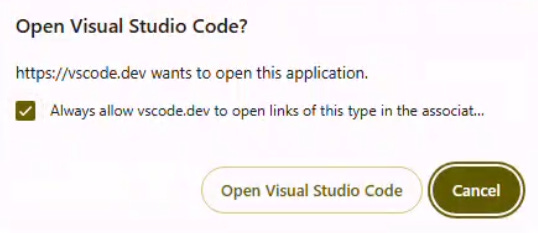
After clicking on “Open VS Studio Code” the website will show you this info:

This normally means everything is good. However, if your browser can’t open the link correctly, the link included might help.
When you return to VS Code, you should see that Copilot is logged in and ready to go!
Step 3 - Setup your Terminal
To set up your Terminal to work with Github Copilot, you need to install Github CLI. The easiest way of installing this tool is by typing:
winget install GitHub.cli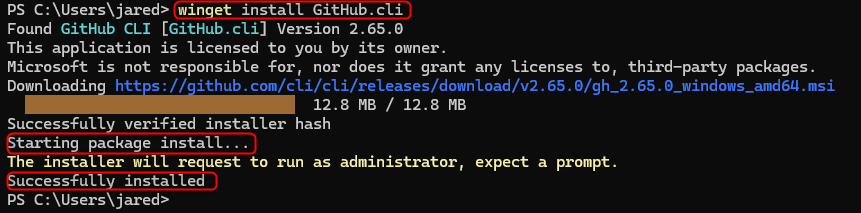
If Winget isn’t an option for you, you can find the latest version of the GitHub cli here: https://github.com/cli/cli#installation
Once you have the CLI installed, you can use the command:
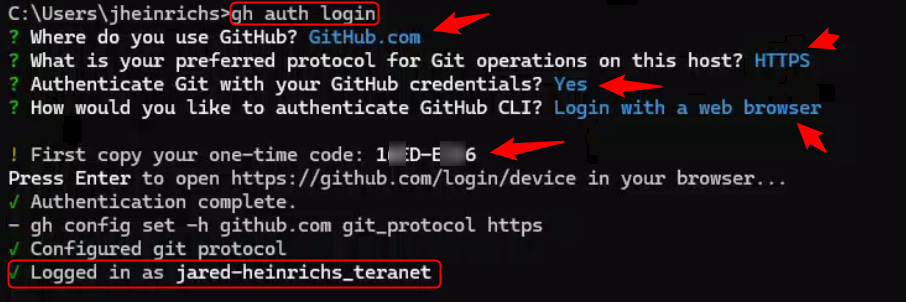
gh auth loginThis will then ask you a bunch of questions. If you are having an issue, the most likely reason is you haven’t used the correct GitHub settings. Talk to your administrator to see what the settings should be.
In addition to my notes, you might also want to check out this website from Microsoft