


How To - Update Firmware From The Linux Terminal Command line

I recently helped a friend set up a new server, and after the first reboot, I noticed that the UEFI database needed updating. In this post, the update addresses a security vulnerability that allows an attacker to bypass UEFI secure boot.
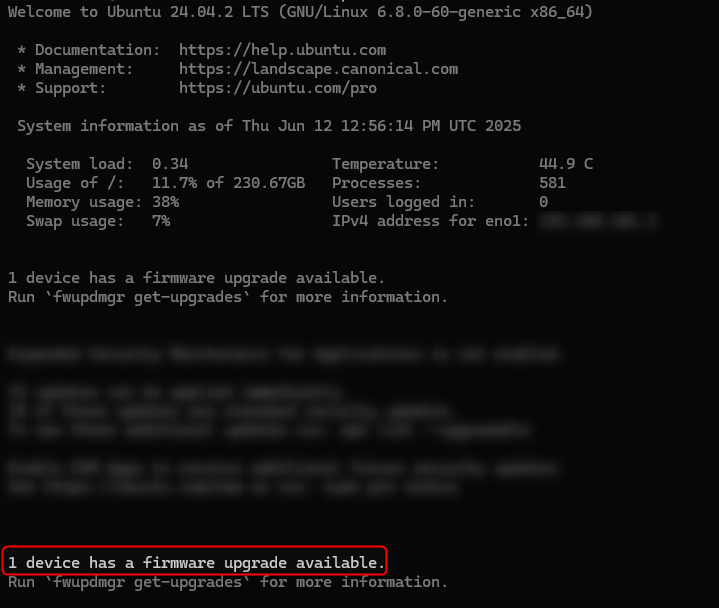
Linux is great at alerting you about these issues. After logging in, I was shown this screen:
Note: For privacy, I have removed any information that was specific to their system.
As per the suggestion, you can run this command to find out more info:
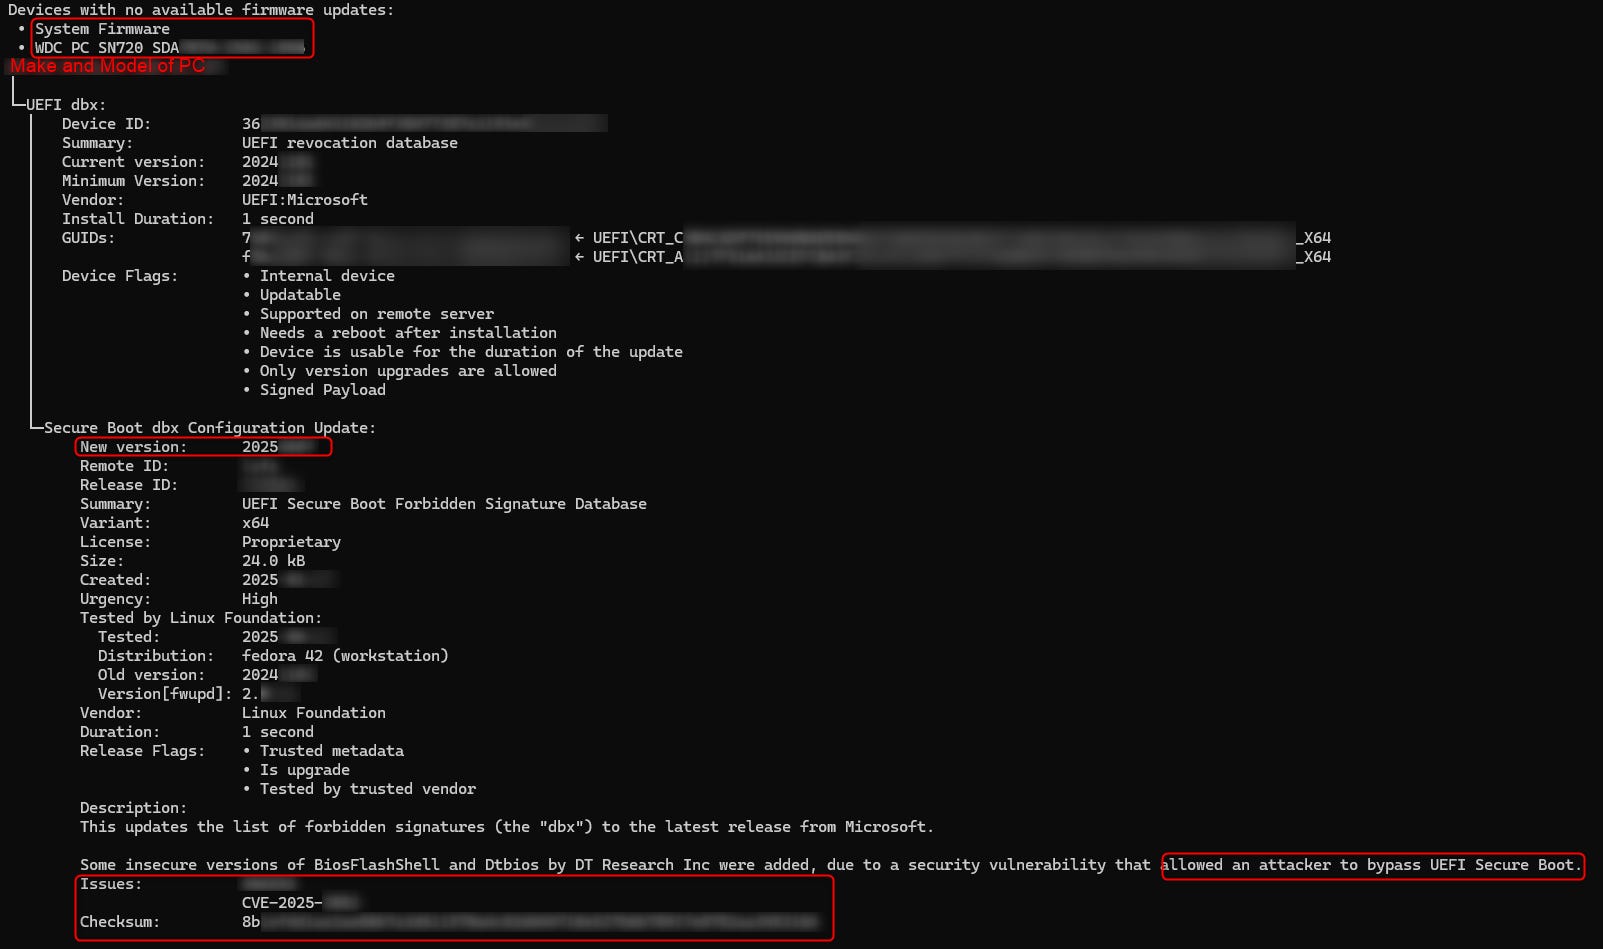
fwupdmgr get-upgradesAs you can see from the report, there was no update to the system firmware or SSD firmware.
We can see there is a UEFI dbx update from 2024, and it can be patched to a fairly recent 2025 update.
Now that we know there is an update, what the issue is and what the update will change, we can now apply the new firmware. To apply it we need to type in this command:
fwupdmgr update
Press “y” to reboot the machine, and after the reboot, the machine will be patched.
As you can see, updating the firmware is a straightforward process. No extra utilities to download. No need to search the internet to see if you need to update. You can even see which company did the testing of the patching.
After the reboot, you can check the firmware again by using the first command again.
fwupdmgr get-upgradesAs you can see, everything is fully patched. Ubuntu allows you to check if the update was successful. It does so by sending a JSON file. You can upload the result by pressing “y” and following the prompt.